SCRATCH BUILT SPRINT
Brief
This rocket is a scratch build replacement for my BDS Sprint, after my original Sprint got it's booster section crushed in the boot of my car. the only thing i managed to salvage were the fins, and the nosecone. I'm going to use PML Phenolic tubing in the construction of my new airframe.

I did the above drawing to give me a plan to go off before i started construction
I ordered some Phenolic tubing(Airframe and Coupler) and a loc 3" electronics bay off Richard at Rocket Store.
Airframe
I cut three lengths of Phenolic airframe one was for the booster section, one for deployment of the drogue parachute and one for the main parachute, these are to be attached to ether end of the electronics bay. At apogee the booster section will drop away and drogue will deploy, then at a predetermined altitude the nosecone will pop off and the main chute will deploy.
Motor Mount

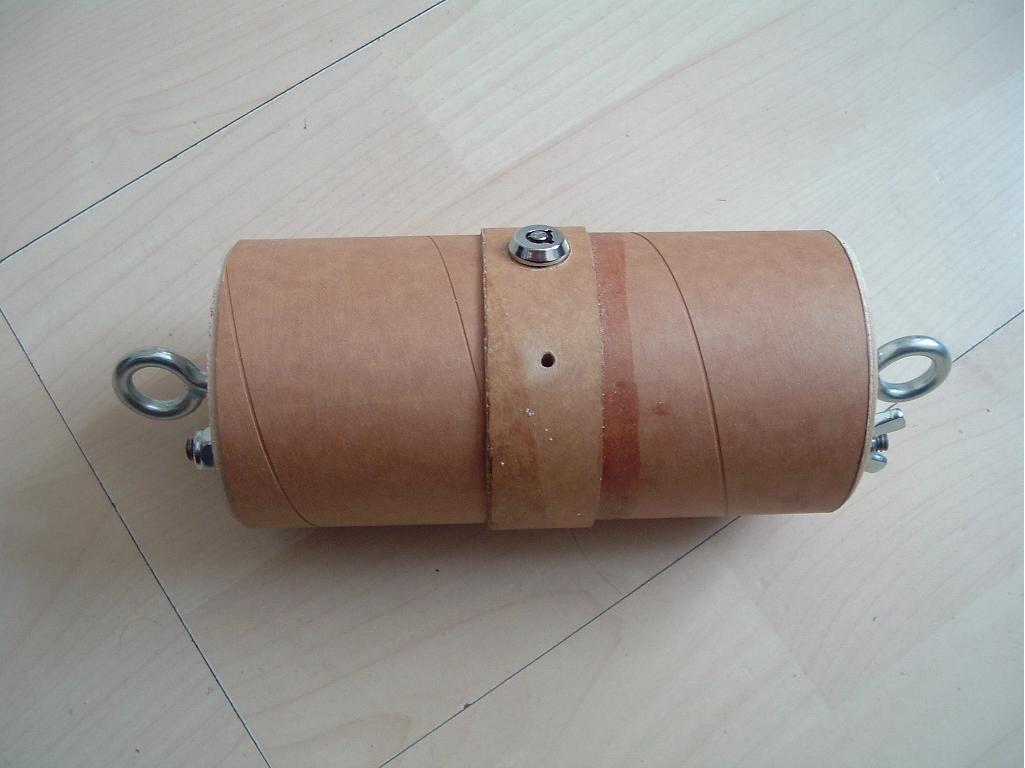
motor mount is constructed as per a normal rocket kit with centering rings epoxied on either end and motor retention hardware on one end and an eyebolt for shock cord attachment on the other.
Booster Section Assembly
Next i cut the fin slots in the booster airframe with a mini drill, i then epoxied in the motor mount, and when dry if fitted the fins again using epoxy.
I then attached a 3ft tubular nylon strap to the eyebolt.
I then cut a 6" length of coupler and epoxied a 38mm coupler centering ring into one end, whilst it was drying I undercoated the outside of the booster section, i then inserted the coupler section into the forward part of the booster feeding the nylon strap through the hole in the centering ring. i then left the hole booster assembly to dry.
Electronics bay
I measured the length of the loc electronics bay and cut a piece of Phenolic Coupler the same size, i had to peel the outer layer off the stiffly tube so it would fit inside the Phenolic tubing, i also cut a 1" length of Phenolic Airframe tube to fit over the outside to be used as a mounting point for the arming switch and also for the atmospheric pressure sensing hole for the altimeter.
Final Assembly
Finishing:
I applied two coats of automotive primer, (from Halfords) with a light sanding between each coat.
The rocket was then finished in two coats of Black spray and the nosecone and booster section were given two coats of silver.
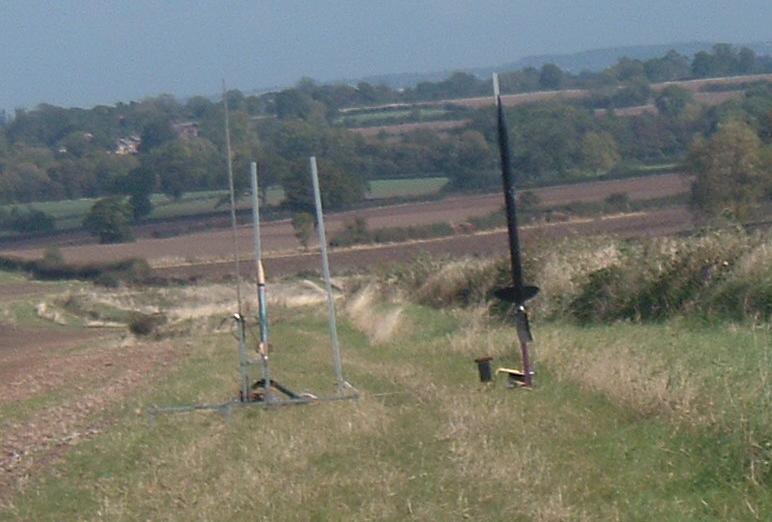
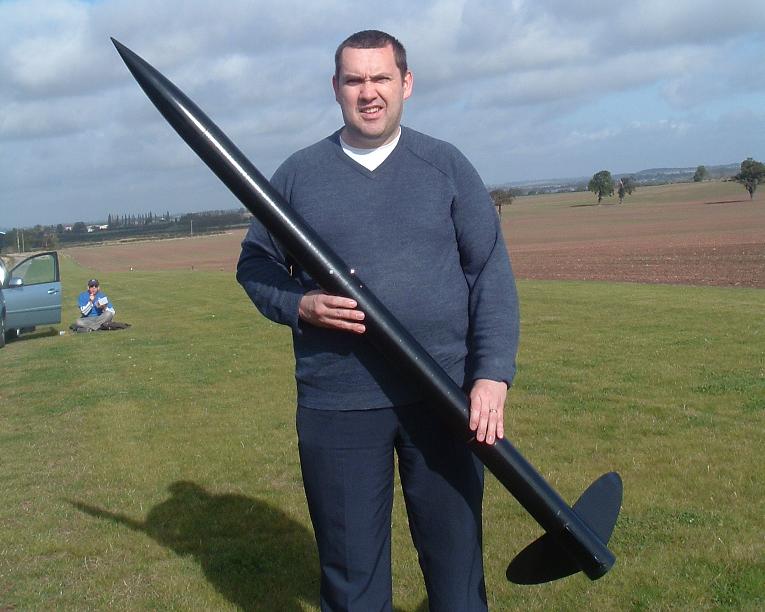
Flight: 1 The first flight on my Scratch built Sprint was at the October sky's event, organised by Midland Rocketry over the weekend 10 / 11 October 2009. Launch was on a Pro38 H125 to an altitude of 1231ft deployed its drogue parachute at apogee, but the recovery harness gave way and the booster section took some damage, ( made a nice whistle on the way down though.) Main deployed at 500 feet using CD3 co2 system, no other problems, rocket (minus booster section) landed approximately 200ft from the Launch Pad. You can find out how i repaired my Booster Here |
|
|
|
|
|
|
|