
How to repair your airframe
overview
This is a quick how to on repairing the airframe on your rocket, this is not the only way of carrying out a repair, but it shows the method i used to repair my rockets airframe.
Parts required
This will depend on what part of the airframe you are repairing, in this case i am repairing the booster section of my Sprint. The length of the tubing will depend on the amount of damage that was done to your rockets airframe, and should be calculated to return the rocket to its original dimensions, in my case i needed the following.
150mm length of 3" Phenolic Airframe tubing
300mm length of 3" Phenolic Coupler tubing
1 x 38mm X 3" Airframe Centering ring
1 x 38mm X 3" Coupler Centering ring
30 min Epoxy
150 & 300 grit Sandpaper
Spray paint undercoat & finishing colour
Step 1
I measured from the back of the booster section to just before the damage area, and cut the tube, in this case it was 275mm from the back. see pictures.
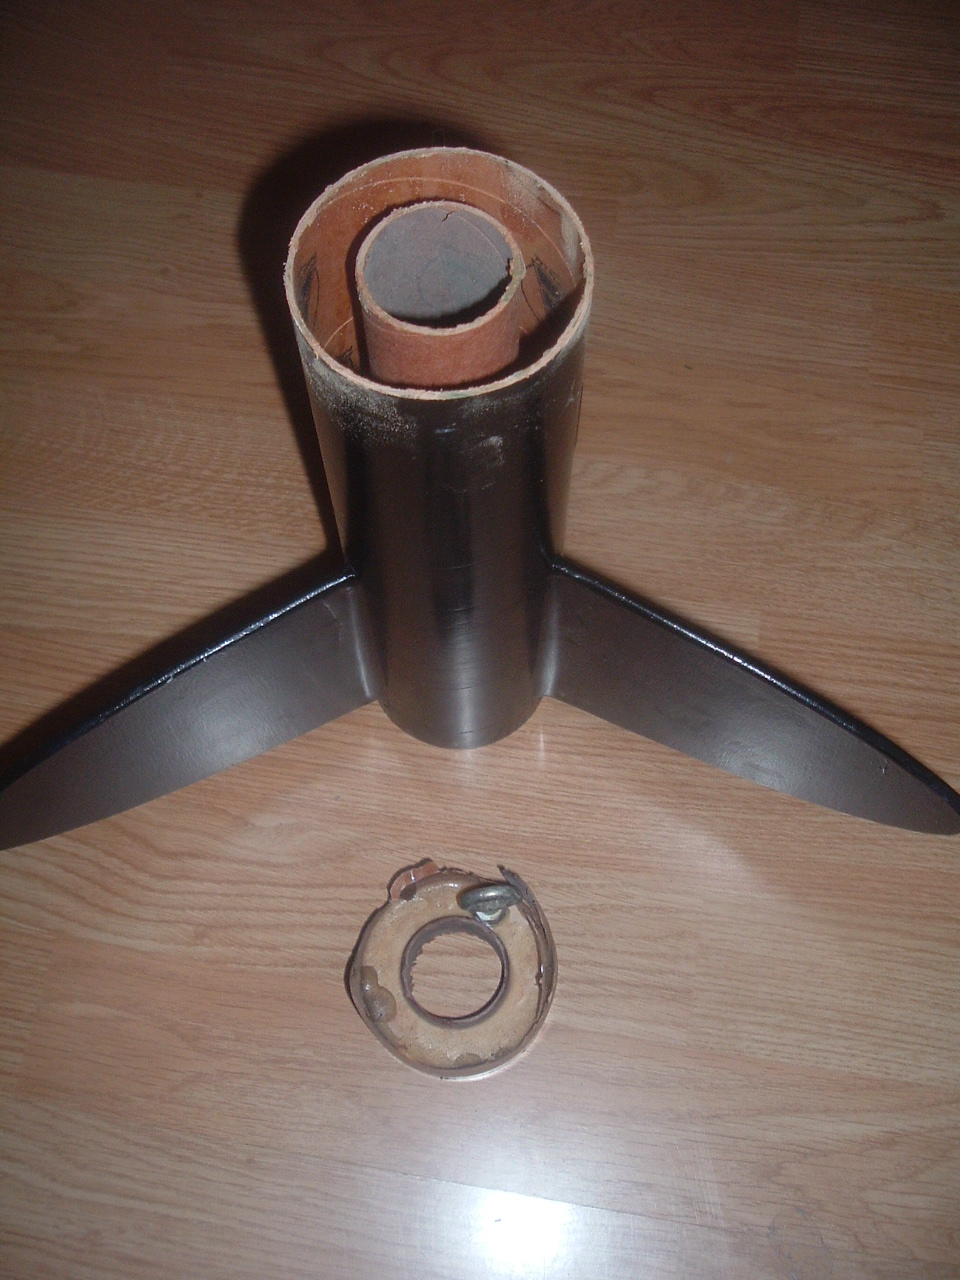
As you can see in the picture, by cutting back the airframe i lost the forward motor mount centering ring this will be replaced in step 3.
Step 2
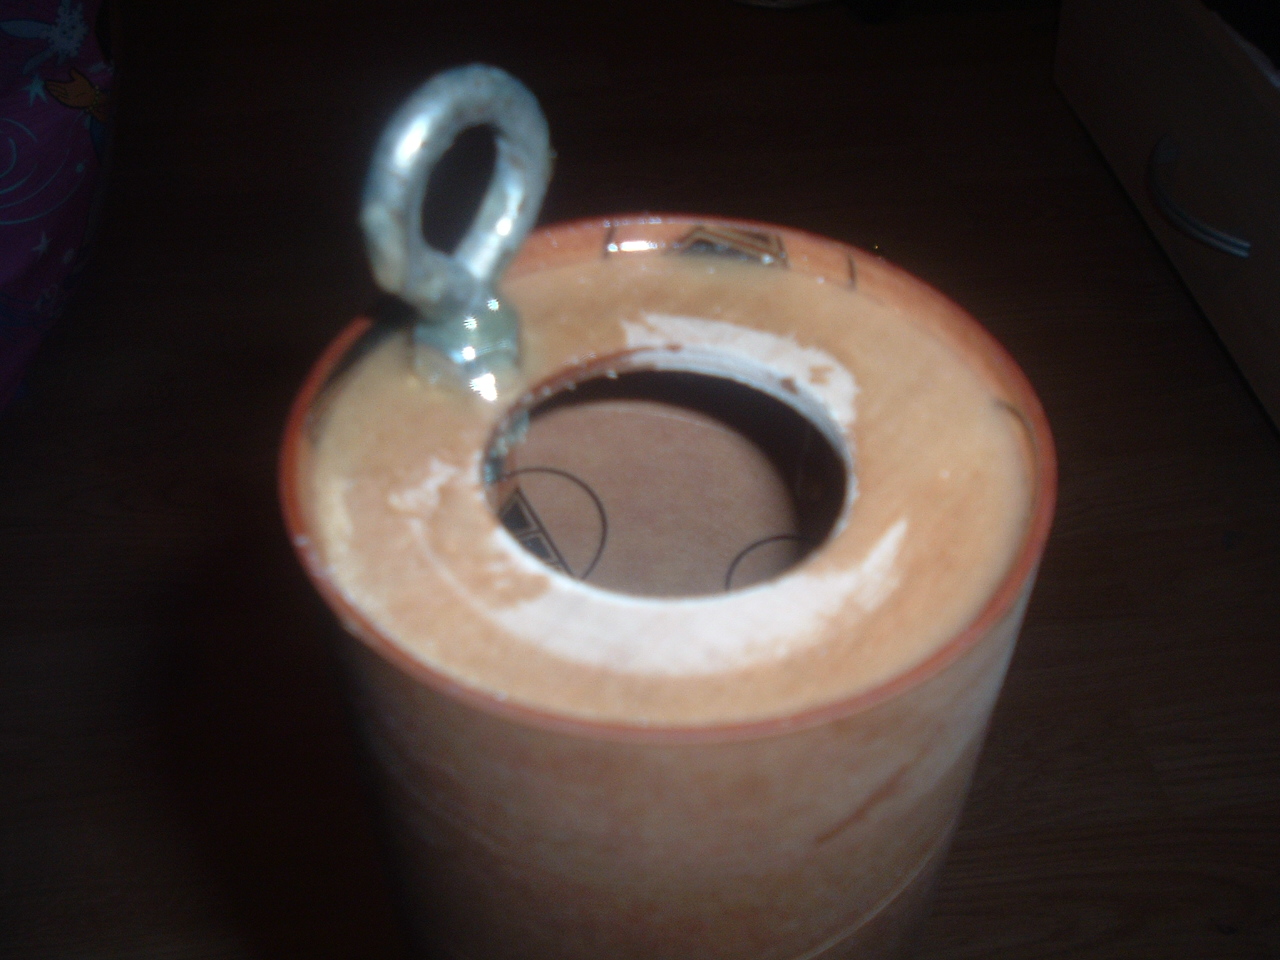
Take the Coupler Centering ring and install your recovery hardware, then mix some 30min Epoxy and using a small dowel put a bead around the inside of one end of the coupler tube, insert the centering ring and push it down so it sits about 6mm from the end of the coupler tube, then invert the tube and let the epoxy harden.
When dry put a bead of epoxy around the top of the centering ring and also coat the nut holding the eyebolt in place if not already done so, put to one side until epoxy has cured.
Step 3
Mix some 30min Epoxy and using a small dowel put a bead around the inside of the airframe and on the outside of the motor mount about 3" down from the opening, mark 3" on the length of coupler and use this to push the airframe centering ring down into the Epoxy, using the coupler should ensure that the centering ring sits true around the motor mount tube. Again invert and let the epoxy harden.
When dry mix some more epoxy and put a bead onto the centering ring both were it meets the airframe and also the motor mount, you can also cover the top of the centering ring with epoxy.
Step 4
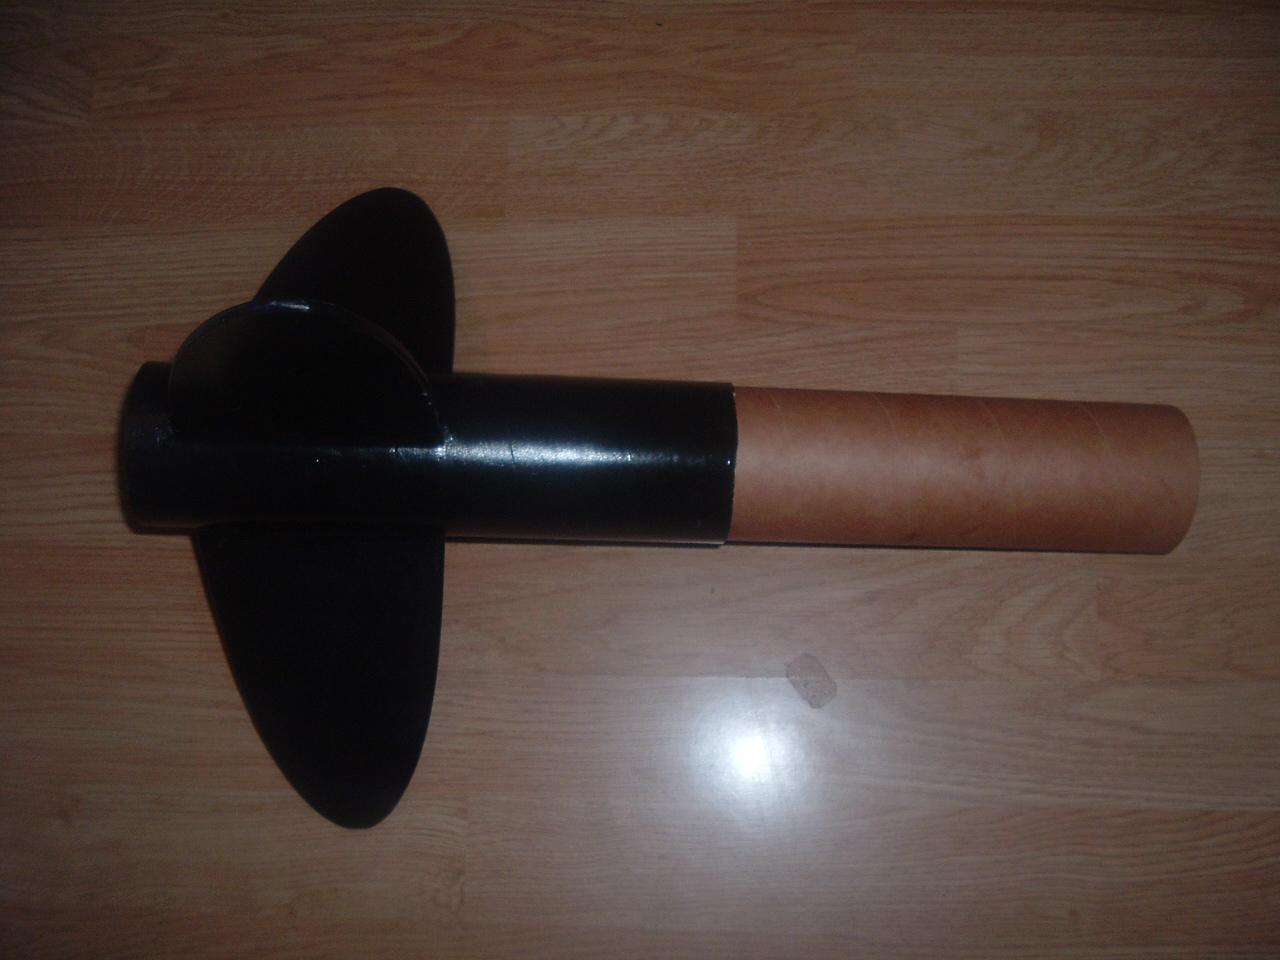
Mix some more 30min epoxy and using a dowel put it on the inside of the airframe near the top, slide in the 300mm length of coupler twisting as you go to spread the epoxy evenly over the join. Ensure that you put the coupler in the right way round with the centering ring and recovery hardware on the outside and not inside the booster airframe, and leave to cure, see Picture.
Step 5
Next we need to glue the 150mm length of airframe onto the outside of the installed coupler tube, so again mix some 30min epoxy and put it on the outside of the coupler tube about 100mm from the front where the recovery hardware is installed. slide the airframe tube over the coupler tube twisting it round to spread the epoxy until it butts up against the original section of airframe, wipe of any excess epoxy, and leave to dry.
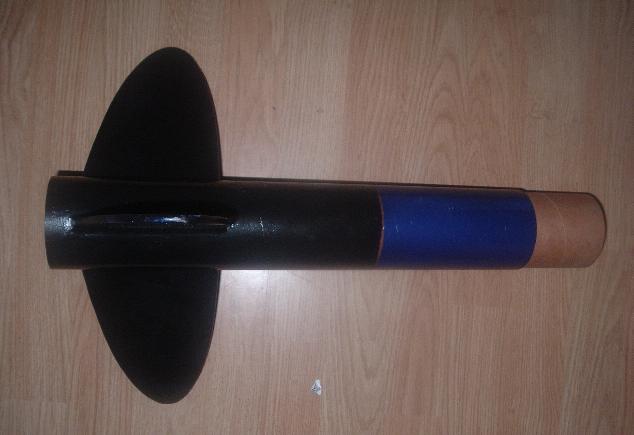
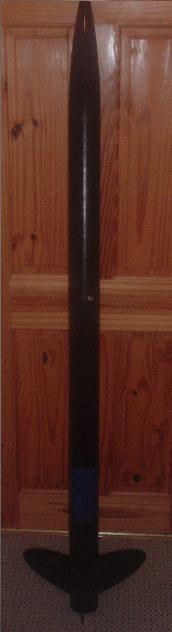
I painted the repaired area blue to make it more visable in the photographs
Step 6
Fill the spirals in the airframe and any gap between the two halves of airframe, wait till the filler has set, rub down with sandpaper I then applied 2 coats of automotive primer, (from Halfords) with a light sanding between each coat. I then finished the repair with two coats of black automotive paint to match the rest of the rocket.
Repair Complete